TENT FABRIC REPAIR
This guide explains how to repair your X-Mid or X-Dome tent which are built from woven fabrics. This guide does not apply to DCF products (the Pro series tents) but does apply to the woven floor used in some Pro tents.
The first thing to be aware of is that your tent uses a fabric with different coatings on each side. As a result, different tapes and adhesives will stick to different sides. More specifically, the fabric uses a silicone coating on the outside and a PE coating on the inside. So only silicone based adhesives will stick to the outside, and only PU or PE based adhesives will stick to the inside. For example, a silicone based adhesive will only stick to the outside of the fly and the bottom side of the floor.
Strategies
Before we get into specific repair products, it’s worth discussing how you’re going to repair that damage.
Generally speaking, if you have damage from very small holes or abrasion you can solve it using only liquid adhesives. If you have medium sized holes you’ll likely be better served with a repair tape on one or both sides, with possibly a liquid adhesive on the other.
If you have a small cut or puncture, a good solution is repair tape on one side to close the wound and then liquid adhesive on the other to glue it shut. However, if a piece of the tent is actually missing (e.g. from melt hole) then you’ll want tape on both sides to patch that hole. If the damage is to the floor, tape on the underside can potentially be peeled off later if the floor is sliding on rough ground, so floor damage is best repaired by tape on the top side and a liquid adhesive on the underside.
If you have large holes, long rips, or other major damage, you may be to repair it with repair tape, but quite likely sending it to us or a professional gear repair shop like Rainy Pass Repair or to someone else who can sew is the best way to go.
Lastly, if you have damage to your bug netting (noseeum mesh) there are some mesh repair patches you can use. These work well if you apply them to both sides, but tears larger than these patches will need to be sewn.
Techniques
There are three main ways to repair your tent:
1) Liquid adhesives
The most common repair adhesive is Seam Grip by Gear Aid which most outdoor gear stores sell. Seam Grip comes in several versions and has undergone quite a few name changes, which makes things a bit complicated. Historically all of these versions were PU based so they would only stick to the inside of the X-Mid fly. These versions differed mostly based on how thick they were (thinner adhesive for sealing tent seams, thicker adhesive for repairing boots). However, GearAid has recently added a silicone based version as well that will stick to the outside of your fly.
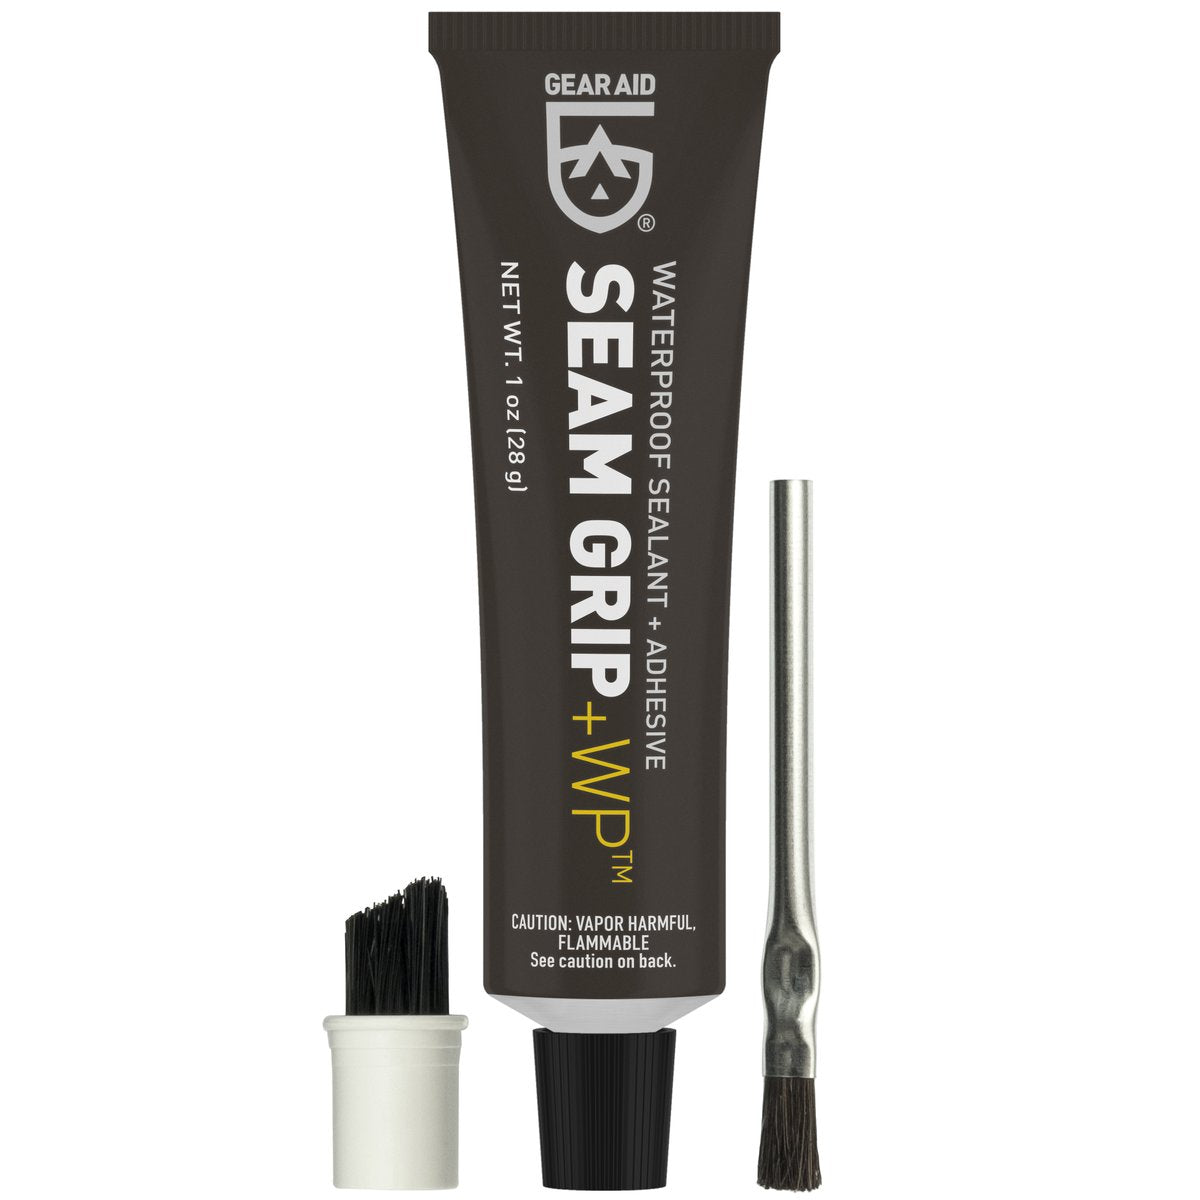
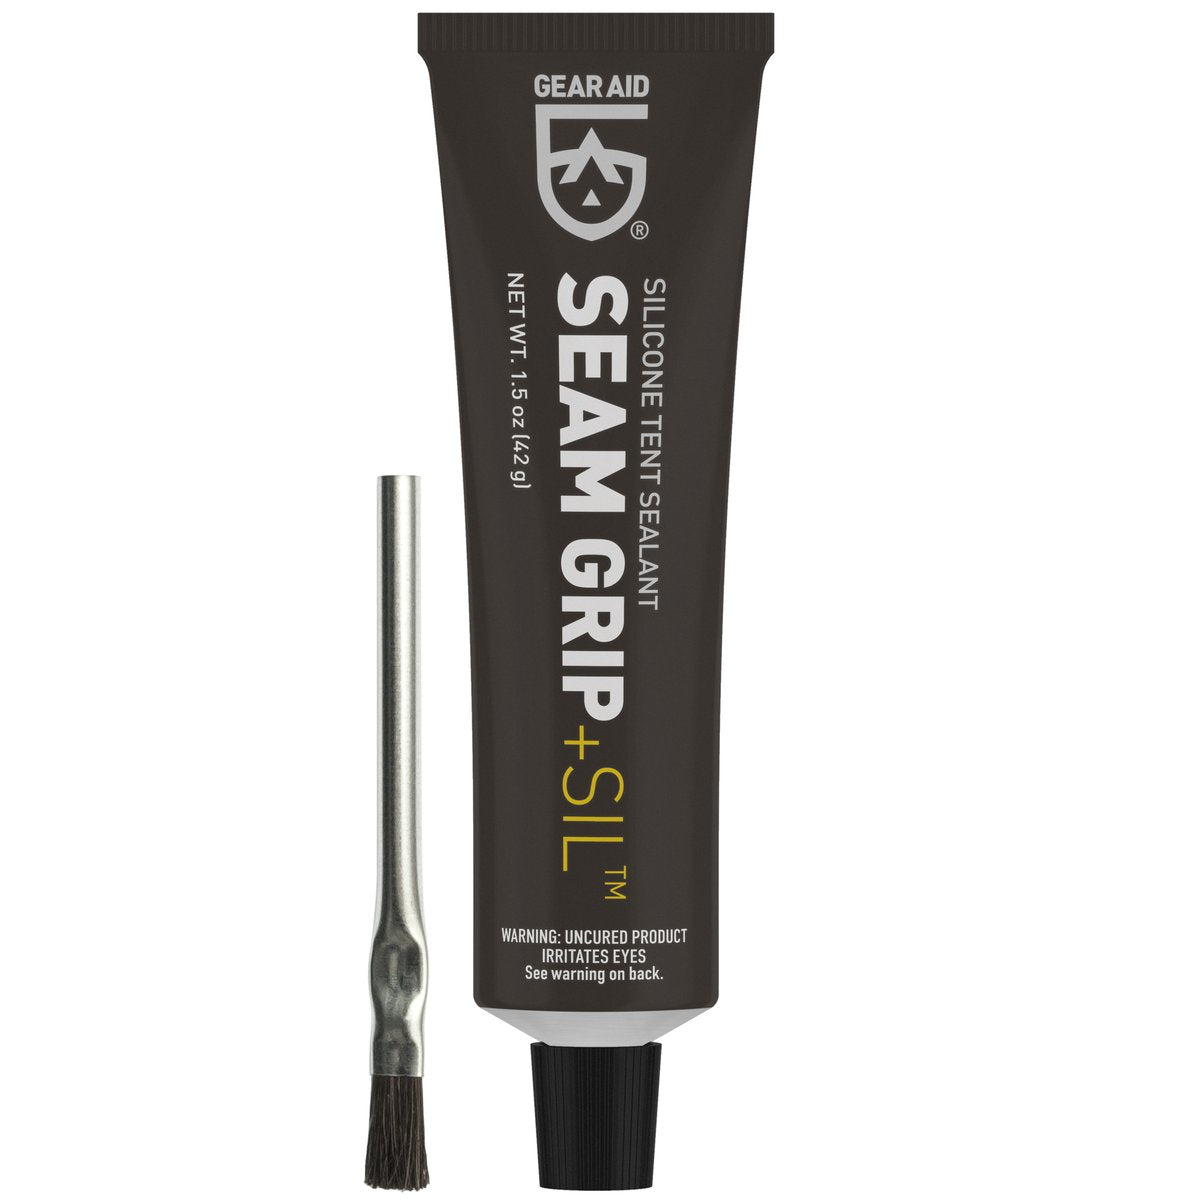
Currently, Gear Aid offers Seam Grip +WP which is the standard Seam Grip and will work nicely for repairs to the inside of your tent (inside of the fly or top side of the floor), they also offer Seam Grip +SIL which is silicone based and thus works nicely on the outside of your tent. It is a thick product though so it is good for damage repair but not sealing large areas or entire seams.
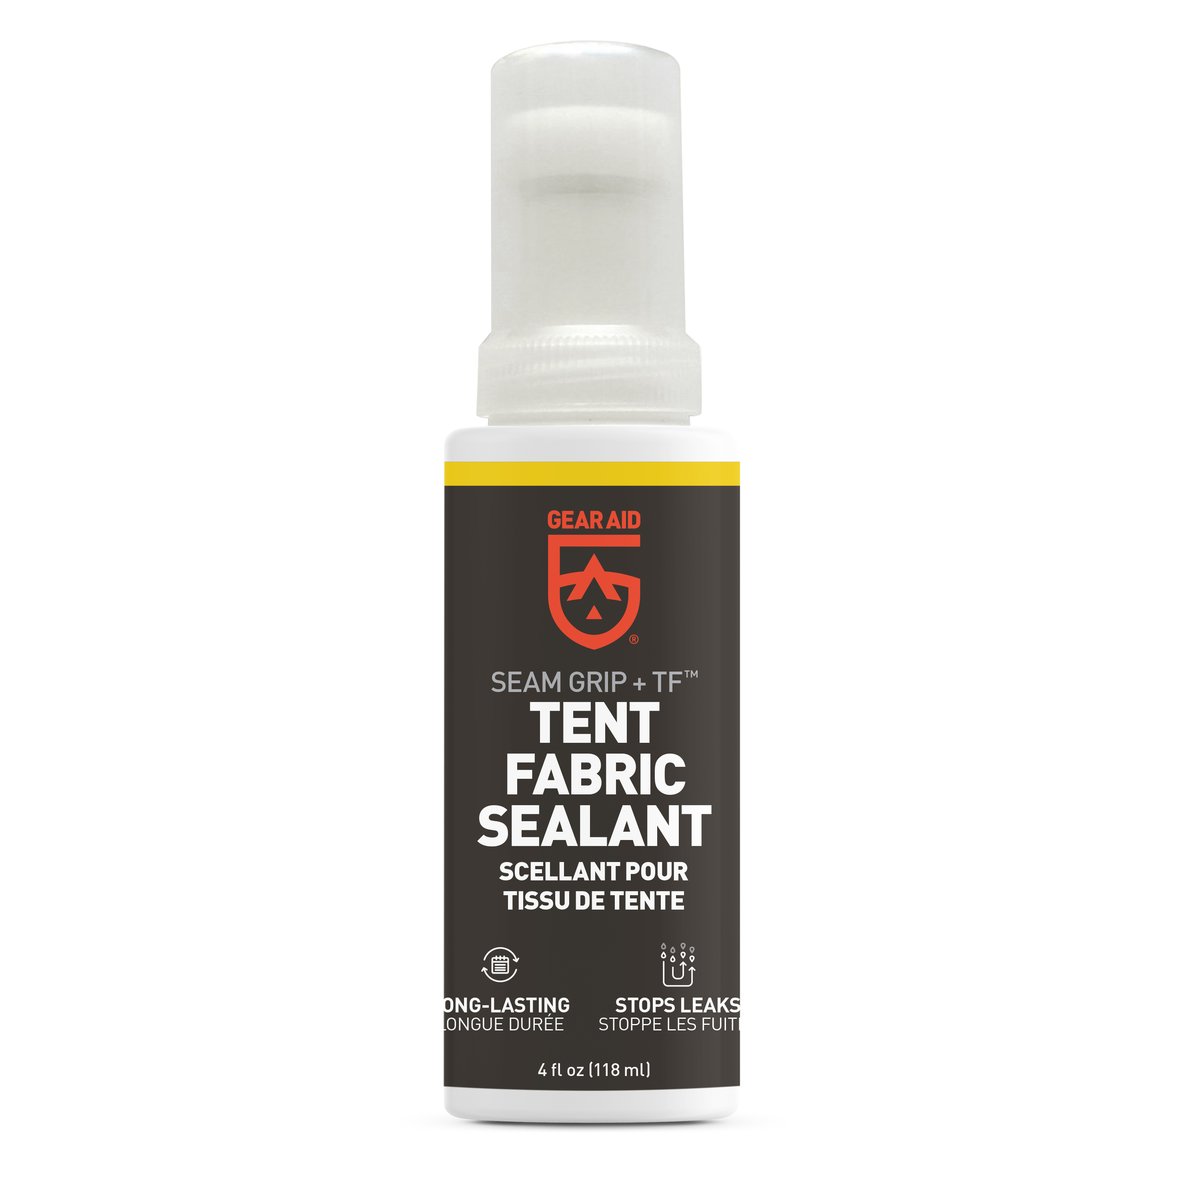
Additionally, they offer Seam Grip TF where TF stands for tent fabric. That is PU based and sounds like ideal stuff since it has tent right in the name, but it’s much more diluted and intended for sealing leaking fabric and seams – not gluing actual holes shut. So it is a good seam sealant on the inside of your tent but really too thin to glue a hole shut. This is also PU based, so it could be used on the inside of your tent if you had tiny holes or abrasion that doesn't need a thicker adhesive.
Besides the products from Gear Aid, a lot of adhesives will stick to the PU side although use them carefully (test on the stuff sack if you’re not sure). A cheaper homemade alternative for a silicone based adhesive is to buy a tube of clear silicone caulk at your local hardware store and dilute it down with mineral spirits to the right consistency.
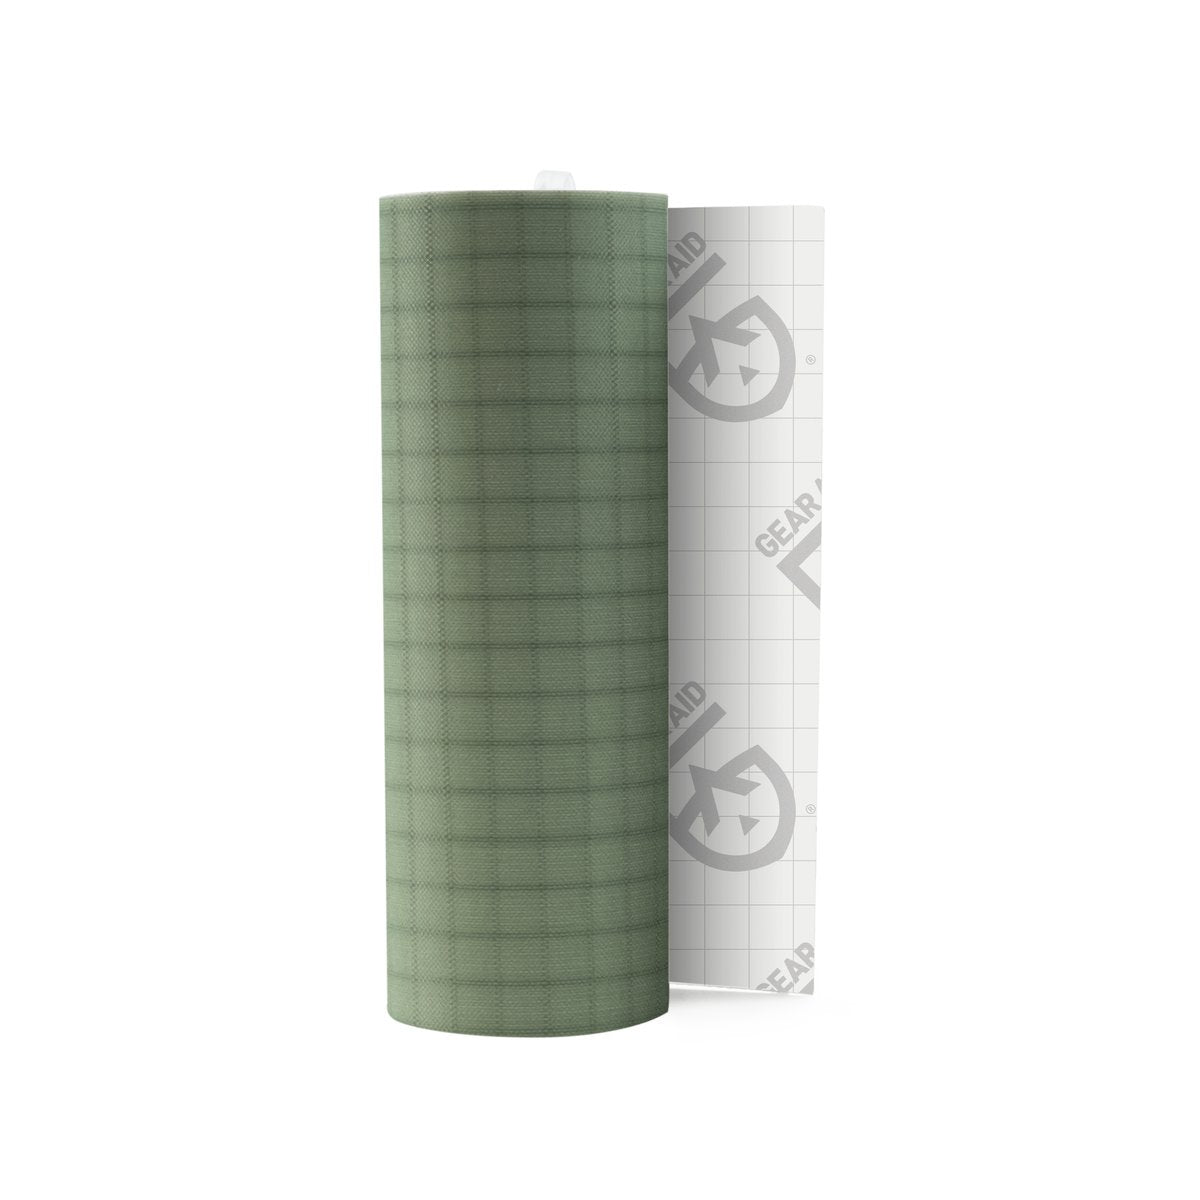
2) Repair tapes
Another easy method of repair is using repair tapes and patches. Compared to a liquid adhesive, these can better reinforce larger tears and also patch over larger holes. The downside is that they can peel over time if they’re not properly applied, and they can look out of place if the color isn’t matched.
Gear Aid is also the go-to company for repair tapes. They make a popular tape called Tenacious Tape that is a light woven fabric with an adhesive backing. The regular version of this is simply called Tenacious Tape and the grey color matches our floor well, while the clear color works nicely on the fly. It’s a great option except it uses a PU based adhesive, which means it only sticks to the inside of the X-Mid. They do have a new version of Tenacious Tape out called “Tenacious Tape Sil” which does use a silicone based adhesive and thus will stick to the outside, although in our testing it didn't stick as well as a liquid adhesive.
With any tape, it’s important that it’s applied to fabric that is dry and clean. Wiping it down with alcohol prior to application is ideal.
Tenacious Tape in Sage

Tenacious Tape Silnylon
An alternative to Tenacious Tape is making your own. You can create your own perfectly matched repair patches by cutting up the stake sack or the main stuff sack (for large repairs) and then gluing those on with the previously mentioned liquid adhesives. We recommend applying a thin coat of the adhesive to the patch or to the tent surface, then sticking on the fabric patch, and then adding a little more liquid adhesive around the edges of the patch to make sure the edges are glued down.
The #1 challenge with making your own patches is that you need to be careful to ensure (1) the patch has the correct side of the fabric facing the tent, and (2) the adhesive is correct. For example, to put an exterior patch on the fly, that is to the silicone side of the fly so you would have to find the silicone side of your patch (silicone side is shinier and more slippery, while the PE side is duller and more grippy and is the side with any logo printing on it), then apply a silicone adhesive (Seam Grip Silicone) so it can stick to the silicone coated exterior of the fly.
3) Sewing
Liquid adhesives and tapes can only get you so far, and then sewing becomes necessary. You’ll need to sew (or find someone who can) for major damage, zipper repair, and issues with components sewn into the fly like webbing or velcro needing to be replaced. If you don’t sew, we are happy to do repairs if you contact us, or you can send your tent an outdoor gear repair shop, such as Rainy Pass Repair.